

To make things manageable on your, and our end, we have set up a a few steps and guidelines that is good to know about
Even if it would be possible to write your App against any Android phone device we have the following minimum requirements so that we later on can give you adequate support.

A development terminal (also called: test terminal) is a device with a custom OS and firmware that allows you to deploy your own code to the terminal.
Since our terminals main purpose is: secure, reliable card payments, we must make sure that nothing PCI-sensitive can be extracted from the terminal. We achieve this by locking down the accessibility to the system and its functions. As an example you are not able to install any applications on a production terminal on your own, it must be done via our systems.
You can include any library that you want within your code. What you cannot do is to rely on other external applications.
Short answer: No.
To make sure that you stay away from any PCI-related parts we analyze the manifest file that is part of all Android APK's. With this file we determine if we can approve the solution or not. If not we will tell you what you have to change before we can release it.
Follow below guides on how you enable so that you can deploy and debug your application on our Carbon payment terminal(s)
1. Connect the terminal as per the description in the manual that comes with the terminal
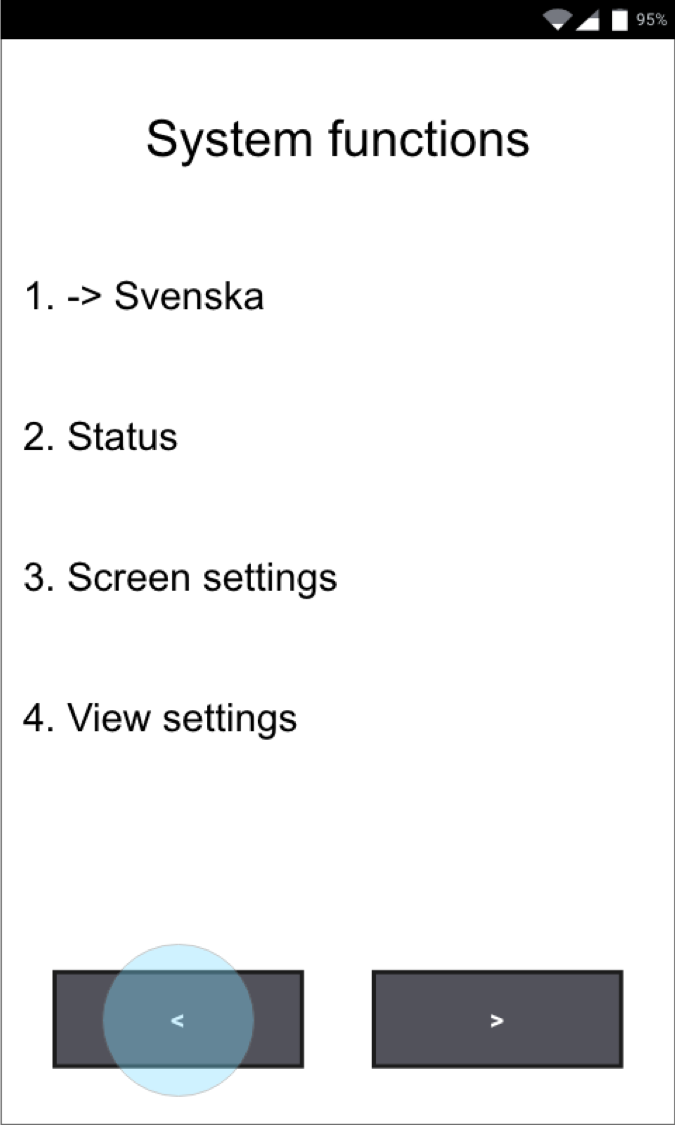
2. After system start-up, when the screen states ”terminal closed” or ”terminal stängd” enter the following code on the terminal keypad: 147369 to enter the system menu.

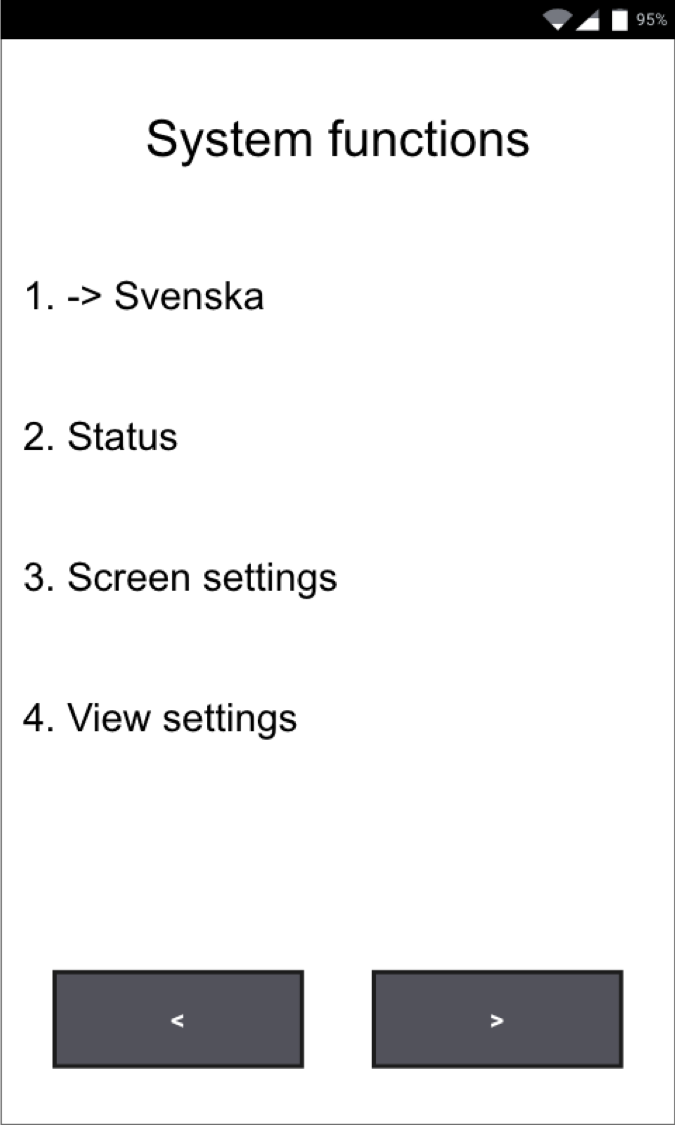
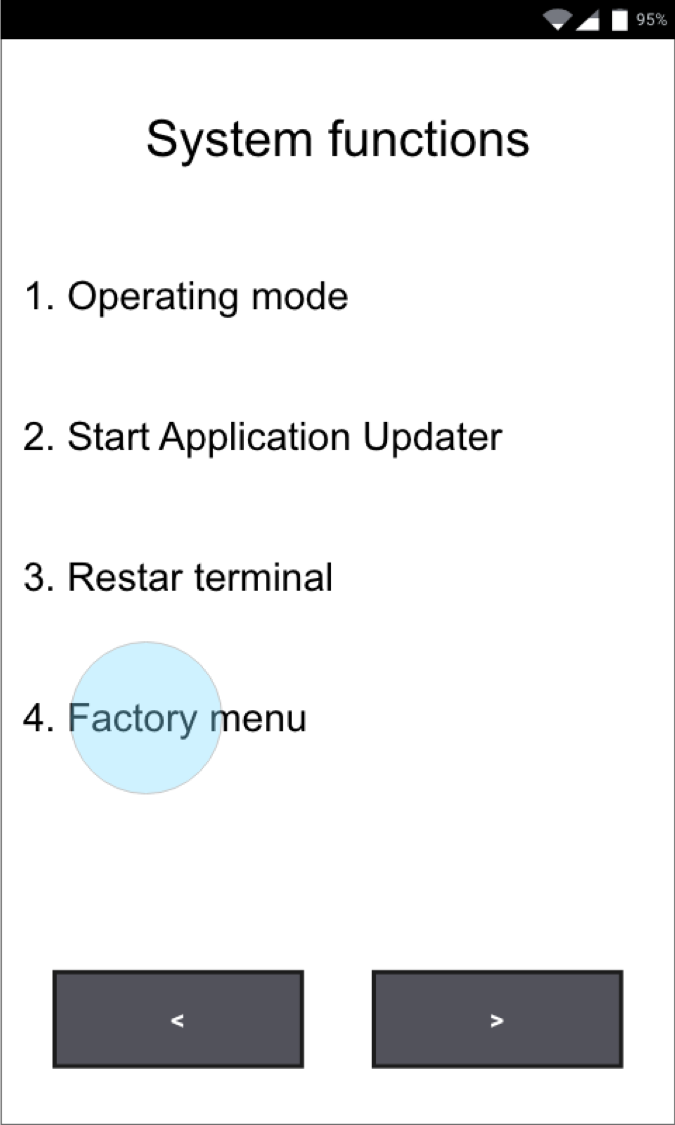
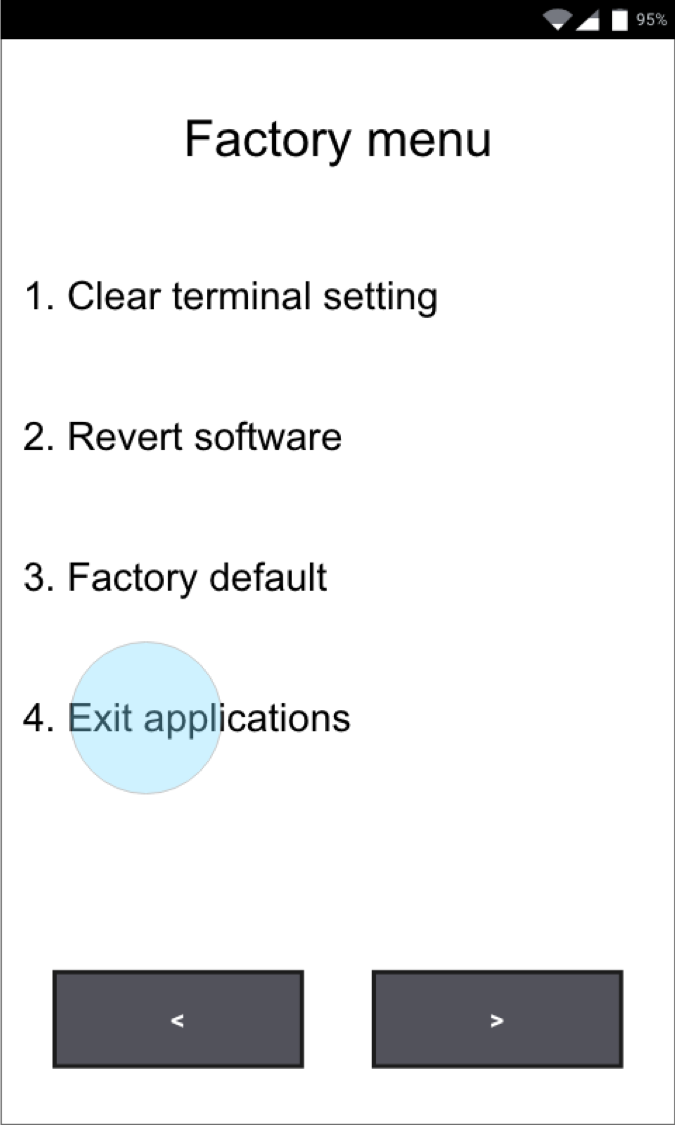
3. Navigate to and select the menu option "Factory menu" with the terminal keypad.
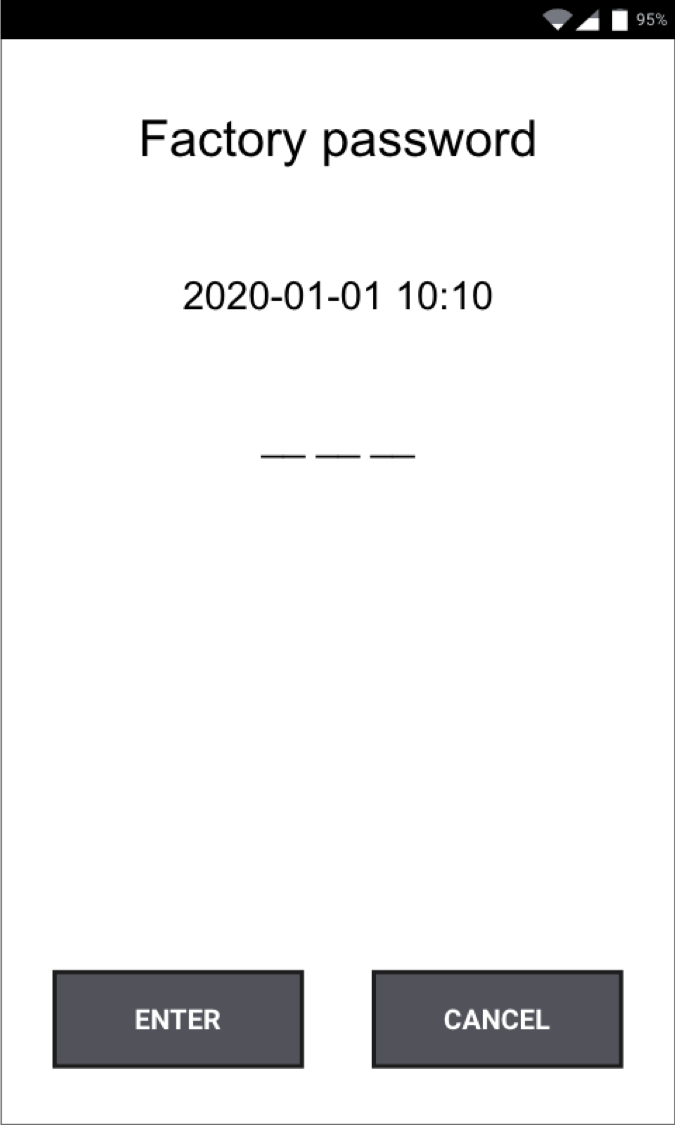
4. Now enter the password 963741 via the terminal keypad and press the Enter key.

5. From the factory menu, select the option "Exit application".
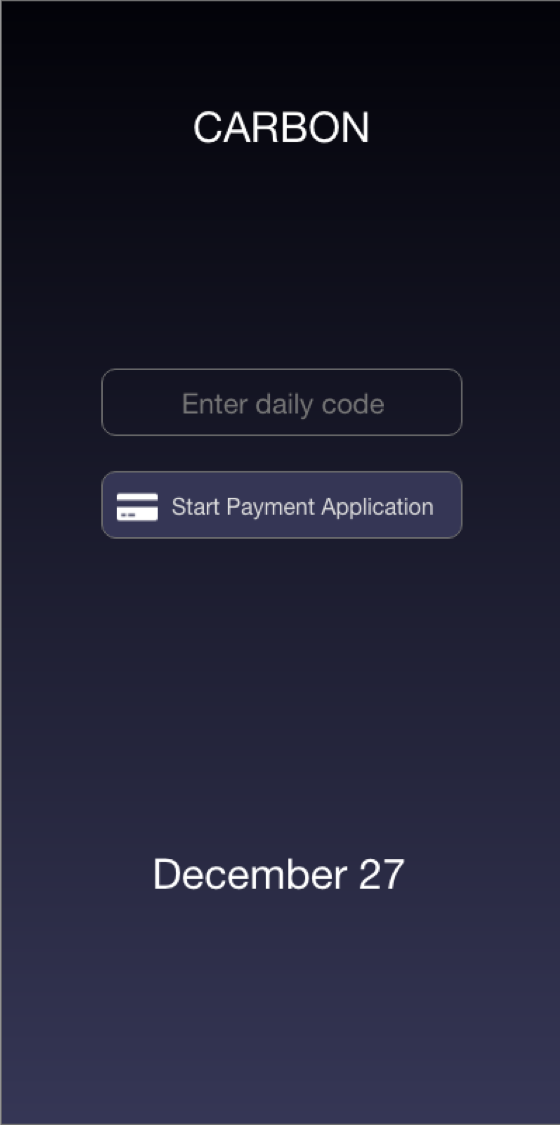
6. From the launcher, press the screen to show the password input box.

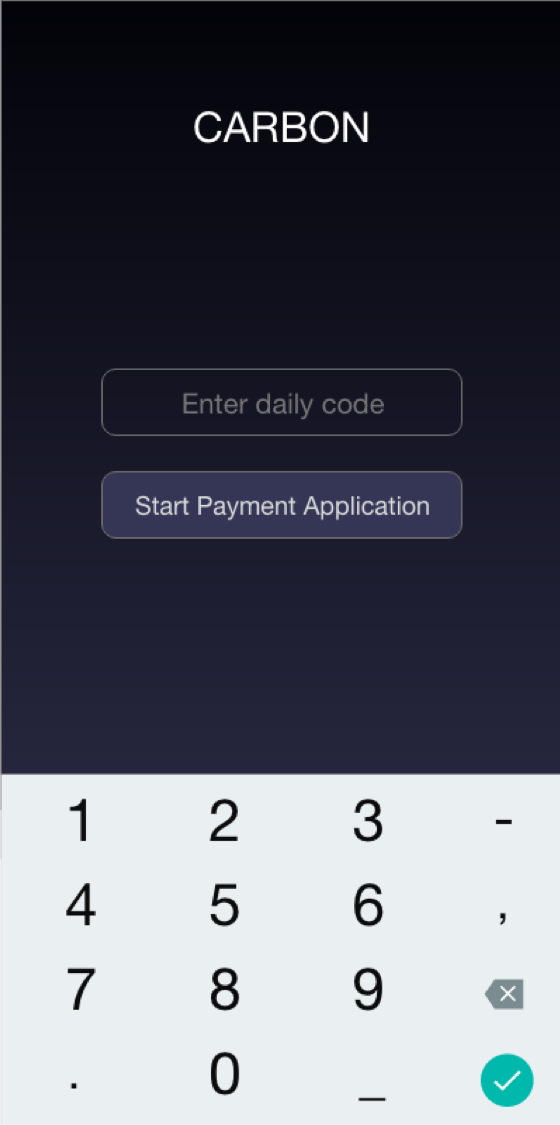
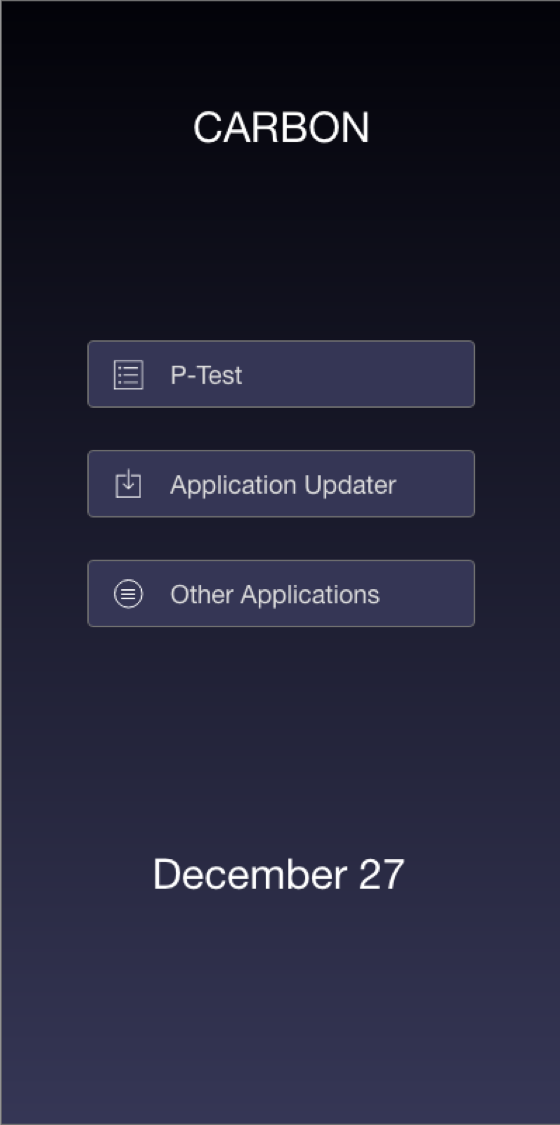
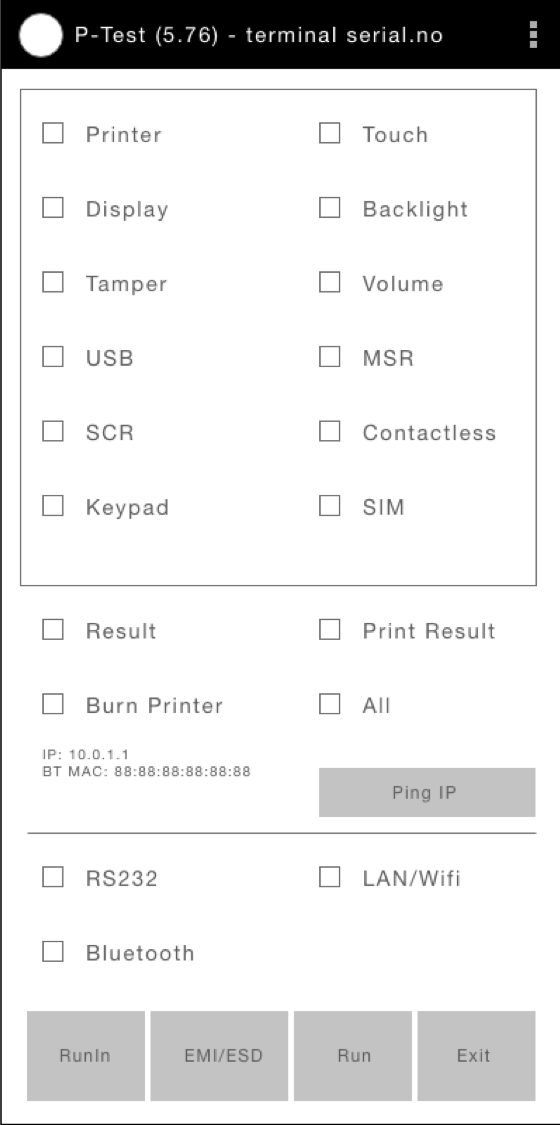
7. Enter the code 963741 and complete the input with the enter key or the green arrow. A new menu will be shown, press the option P-test.
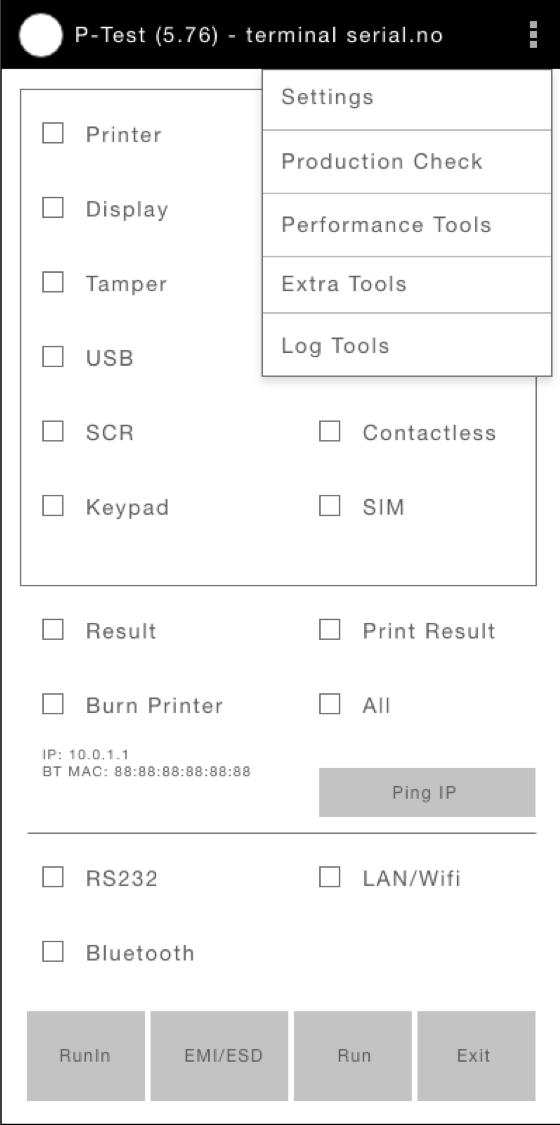
8. In P-test press the menu icon (three vertical dots) in the top right corner. Then select the menu option Extra Tools and then press the option Development Options.

9. In the development options view, scroll down to the header Debugging and activate USB debugging.
10. Now, connect your terminal to the PC using the included USB-C to USB-A cable. Unplug and then connect the cable again if you already had it connected to the terminal.
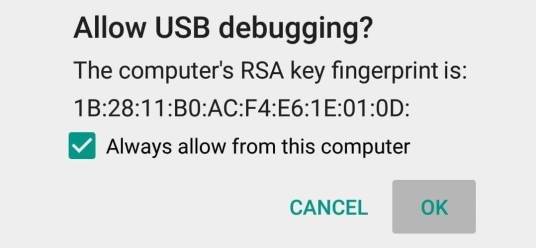
11. If a message box is shown when you connect your PC then tick the "Always allow" box.
12. In order to run a POS Application and open up for communication to the Payment Application the Operating mode needs to be set to “POSAPP”. From P-Test press “Exit” to return to the launcher.
13. From the launcher, press the screen to show the option “Start Payment Application”. Choose “Payment Application”.
14. The Payment Application starts, when the screen states “terminal closed” enter the following code on the terminal keypad: 147369 to enter system menu.
15. Navigate to and select menu option “Operating mode” with the terminal keypad.
16. Enter the password 963741 by using the terminal keypad and press the “Enter” key.
17. From the “Operating mode” menu, select the option “POSAPP” by using the terminal keypad.
1. Connect the terminal as per the description in the manual that comes with the terminal
2. After system start-up, when the screen states ”terminal closed” or ”terminal stängd” enter the following code on the terminal keypad: 147369 to enter the system menu.
3. Navigate to and select the menu option “Status” by using the terminal keypad.
4. In the Status menu option, navigate by pressing “NEXT” until “Network Info” is shown, note the IP address.
5. Exit the “Status” menu by pressing the red button on the terminal keypad once, you will get back to the “System functions” menu.
6. Navigate to and select menu option “Operating mode” with the terminal keypad.
7. Enter the password 963741 by using the terminal keypad and press the “Enter” key.
8. From the “Operating mode” menu, select the option “POSAPP” by using the terminal keypad.
To get access to our test environment you should use the following connection information
During your development it can be required that you update the current Payment Application to enable new functionality. Follow below steps if you are uncertain on how this is managed in Android
adb shell "ps | grep WestPA | sed 's/..........\([0-9]*\).*/\1/g' | xargs kill"
adb uninstall Westpay.WestPA
Success
(Simply drag and drop the apk into the ADB terminal window to append the correct file path
adb install c:\temp\WPA-2.0.5.103.apk
/Volumes/Android/.. 4.8 MB/s (18669461 bytes in 3.701s)
Success
adb shell monkey -p Westpay.WestPA -c android.intent.category.LAUNCHER 1All settings in the terminal are stored in: /sdcard/West/BIT_OW/LocalConfig/config.d Some of these settings control the behavior of the terminal and can be good to know about.
To change any of the settings via adb shell simply copy below code, replace the variables with the setting and value that you want to use
To view the value of any current setting, type below command in adb shell:
Important information
Any changes made during development is not automatically migrated into production. Please inform your contact at Westpay if any changes is required.
Android Debug Bridge (adb) is a versatile command-line tool that lets you communicate with a device. The adb command facilitates a variety of device actions, such as installing and debugging apps.
Read more about available commands here: https://developer.android.com/studio/command-line/adb
adb devices
List of devices attached:
1043000510 device
adb logcat
01-31 22:54: D KeyguardUpdateMonitor: received
01-31 22:54: D KeyguardUpdateMonitor: handleBatteryUpdate
01-31 22:54: I chatty : uid=1000(system) Thread-2 expire 13 lines
adb logcat | grep -e WestPA -e CarbonTerminal
There are three different logs within the terminal, each log serve different purposes.
This log contains all information related to card payments and is the main log Westpay will request upon troubleshooting requests. You can access this log in a few different ways. This log is available in both development/test and production terminals. (No PCI sensitive information is stored in the log)
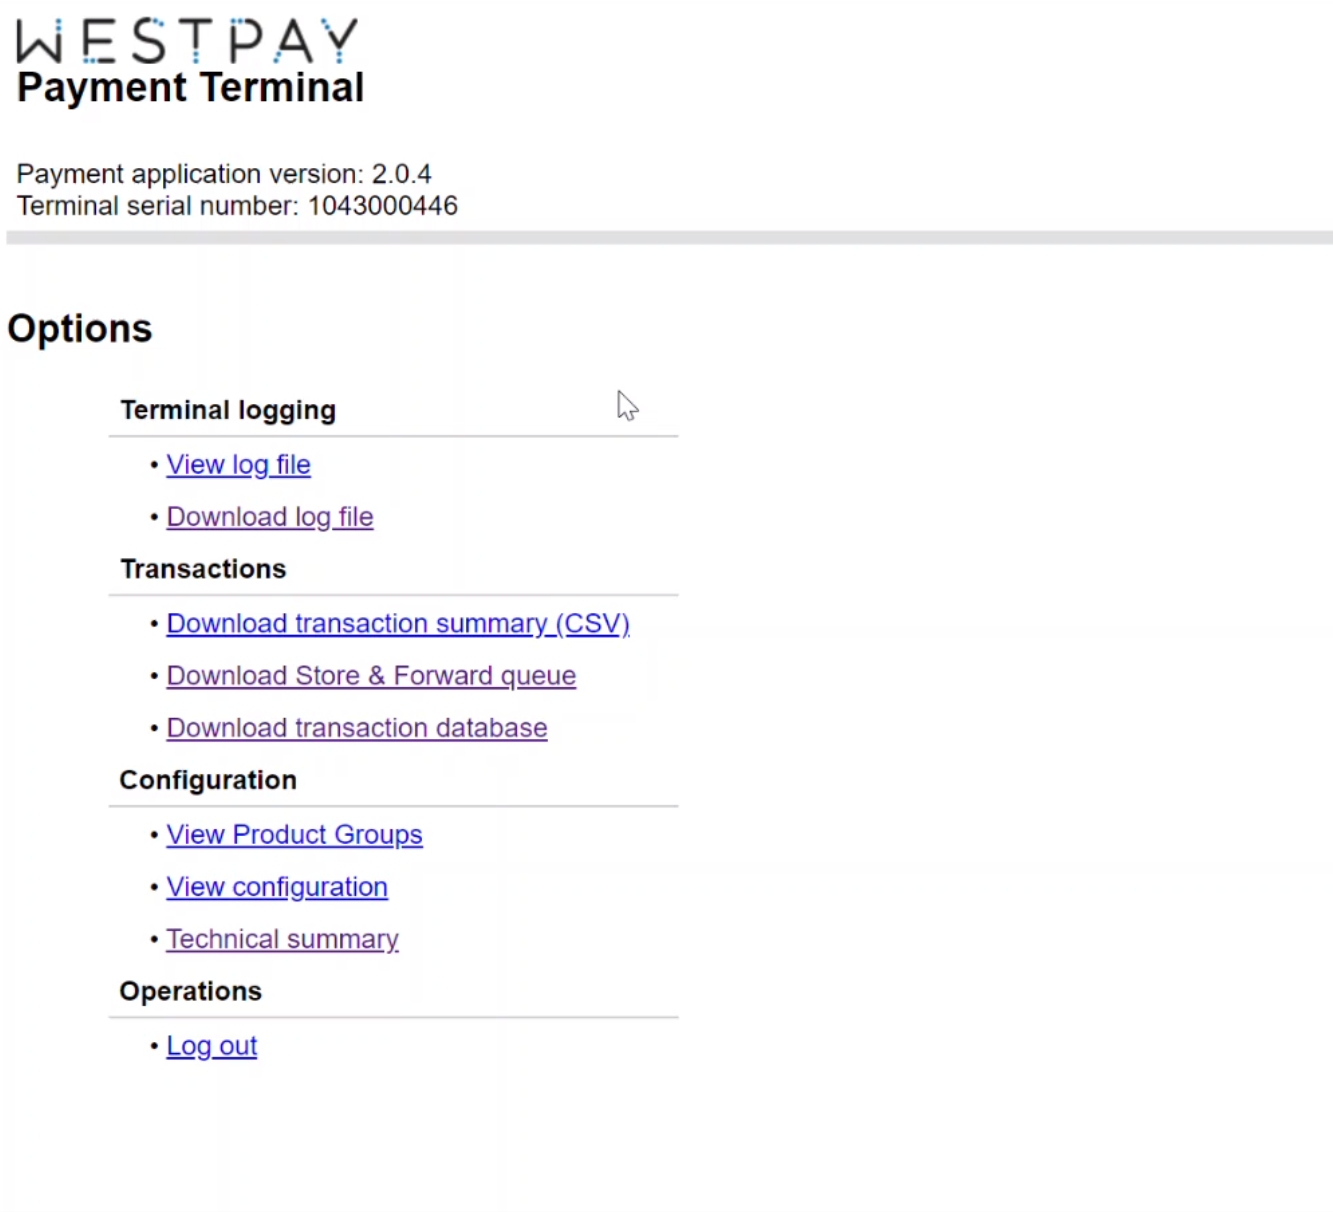
Note that this log-view is only available if the Westpay Payment Application is running and your PC and terminal is connected to the same network.
Logcat is a command-line tool that dumps a log of system messages, including stack traces when the device throws an error and messages that you have written from your app with the Log class.
Logcat is not available in production
A custom log available for production terminals where some of the regular logcat information is store along with low-level card operations.
This log is available in production but can only be accessed with instructions from Westpay